Tambourine Craft For Little People
Have the younger ones engage in tambourine craft and add another item to our homemade musical instruments. With their own creations they can join in the musical jamming session.
|
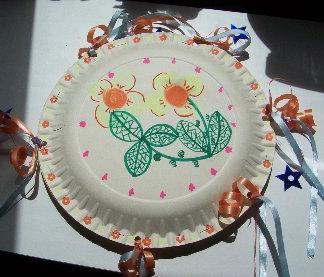
You need 2 large paper plates to make a KKC tambourine. Add to that some beans, or your can use pasta, buttons, beads, small stones. Anything that will make a rattling noise. |
 |
Tin foil milk bottle tops give a nice tinny sound, and so do metal buttons if anyone has some spare ones.
Decorate
it as you like. You can use ribbons, shiny shapes and sequins, beads,
felt tip pens, thread and a stapler. You may need supervision when using
a stapler.
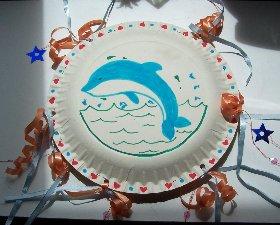
I don`t suggest sticking any bits onto the tambourine drum apart from stickers. When you start to play it, they will be knocked off. Drawing a colorful picture like I have done, or a pretty design is a better idea.
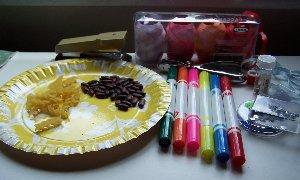 |
Here goes! First decorate both of your paper plates. You can make them the same or do a different design on each plate. |
I put a small book under mine while I drew those pictures. It helps to support the plate while you work on it.
The pens had rubber stamps with different stencils on the ends of them. I used them to make some patterns.
When
you finish drawing or sticking shapes on your tambourine, put the beans
in one plate, cover over with the other plate and staple about 6 times,
evenly around the edges to keep them inside.
|
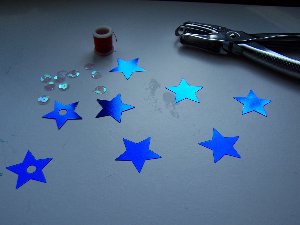
Some people like to tie ribbons and other decorative items onto their tambourines. I have rather large metallic stars, sequins and ribbons on mine. |
 |
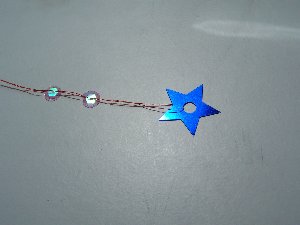 |
How to Make the Decoration |
|
Add some ribbon and you have completed your tambourine craft project. Here we have more musical instruments to add to your band. ...get back to the Home Page. |
 |