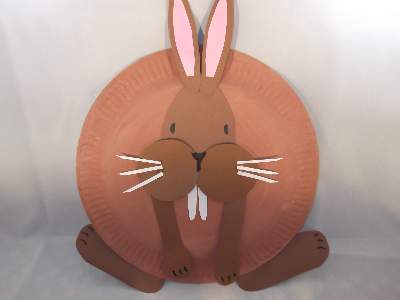
This Paper Plate Bunny is Cute!
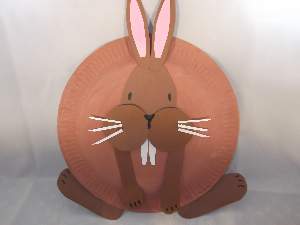
Our paper plate bunny is a bit different to the norm. We are using the plate as the bunny`s body and it`s brown and pink rather than the white and pink version.
List of Materials
1 sheet of thin brown card or stiff paper
Small piece of thin pink card, felt, or paper
Small piece of thin white paper
1 medium sized paper plate
Brown paint
Scissors
Glue
Paintbrush
Black felt tip pen
Try looking in your craft scrap box for the materials!
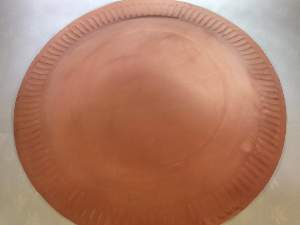 |
You can paint your paper plate light brown, dark brown, or a faun color. The rabbits I see in the fields are all brown. We only see white ones in the pet shop! |
|
In the picture there are 2 circles with a 6cm diameter cut from the brown paper, the bunny`s face which is a shield shape 8cm long and 7cm wide, 10cm long feet with a 6cm leg, and 10.5cm ears with 7cm pink for the inside. |
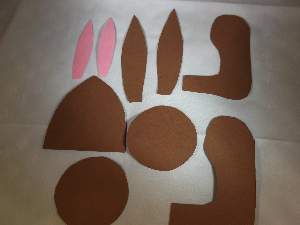 |
The 11cm arms, 5cm white teeth, and 4cm white whiskers are not included in the picture. Cut those out also.
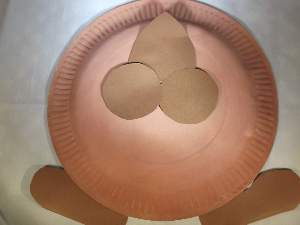 |
Once the paper plate is thoroughly dry, you can stick the face, arms and legs on. |
The back legs make the paper plate bunny look a right thumper. Stick these to the back of the plate with the paws pointing upwards.
You can draw in the eyes and nose with the black pen at this point just to get everything in perspective. Notice how the eyes are to the side of the head? This is to give a protruding face effect. The nose is a Y shape.
Glue the teeth under the center of the cheeks and then stick the whiskers on.
|
Last of all glue your front legs in place. The front legs go just under
the cheeks. Set them wide but bring the paws closer to the center. There are more paper plate craft here... Jump to Kool Kids Crafts front page. |
 |
