Make a Paper Lantern
That Can Light Up!
|
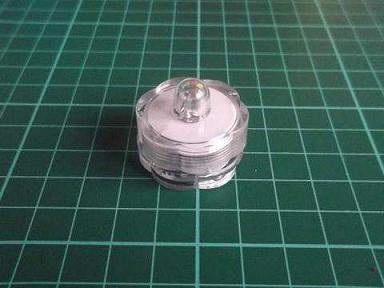
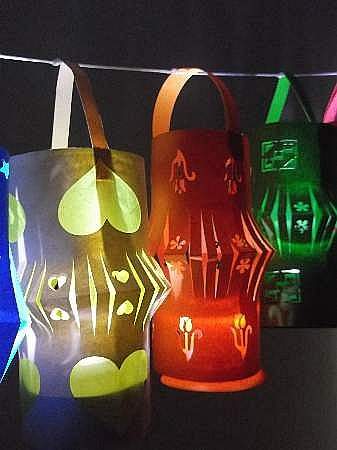
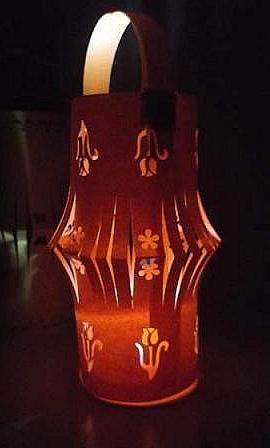
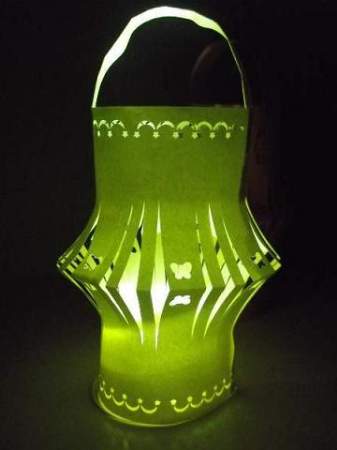
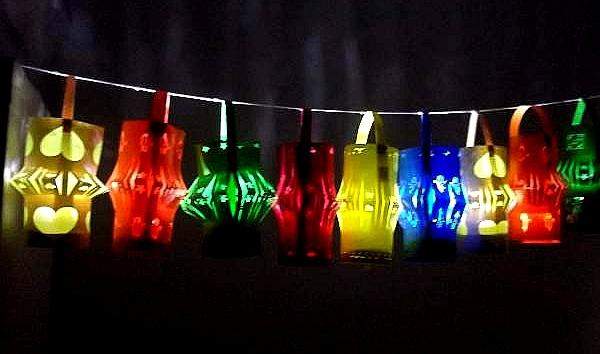
Make a paper lantern that can hold a little LED light. These are quite safe and run on small button batteries. You can buy small inexpensive lights online or from a lights shop. We used luminaries that are really for under water but you can also use them in a dry environment. |
|
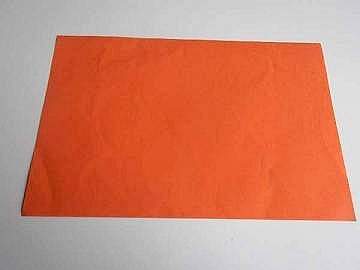
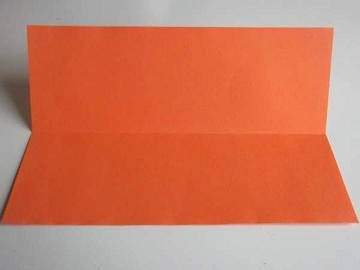
Start by halving the paper in two so that you have 2 A5 sheets. Fold one sheet and place the other to the side as you will use it later to make other parts of the paper lantern. |
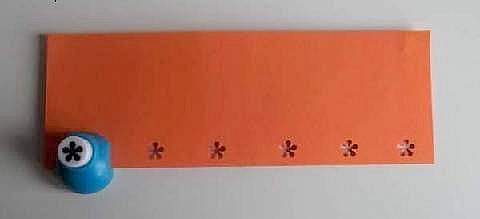
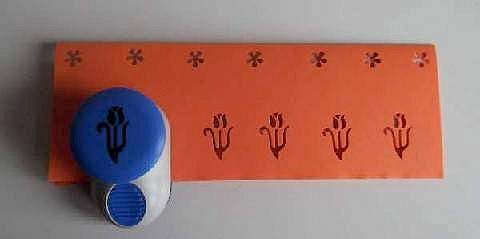
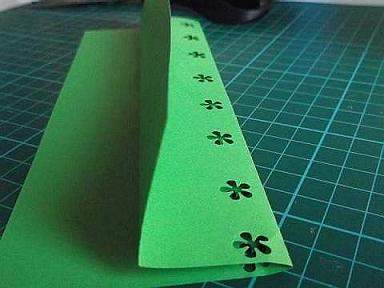
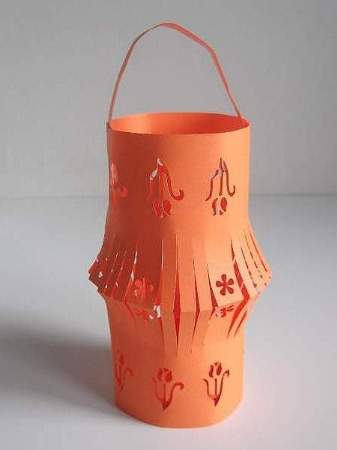
Now cut out some patterns along the folded edge and the open edges spacing them quite far apart. Don`t go too close to the fold.
If you have some craft paper punches use them to make pretty designs but they are not necessary. You can decorate your lamps with sticky back coloured shapes.
|
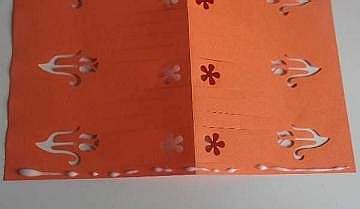
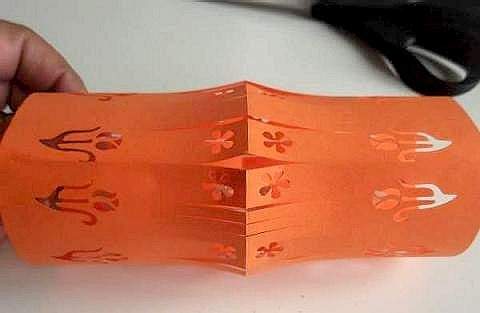
To get the lamp to shape better, fold the paper lengthwise and then fold back each of the sides towards the center fold. Take a look at the diagrams to see how to do it. |
|
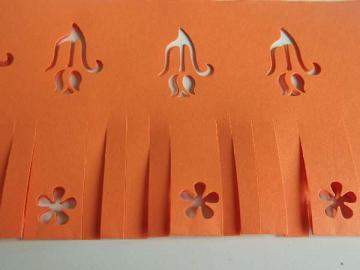
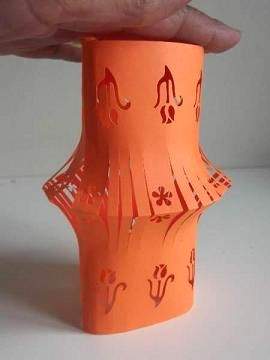
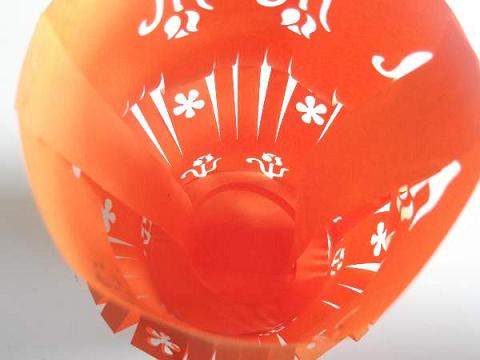
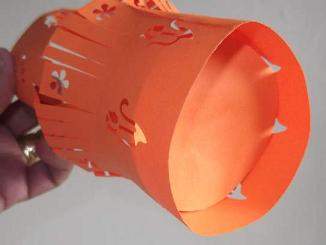
Next, cut slats from the center fold to the 2nd fold. If you have punched designs, cut the slats in between them and open up the paper. Paste a thin amount of glue along one of the side edges and make a cylinder shape. Place it on the table and push down with your hand to form the lamp`s shape. |
|
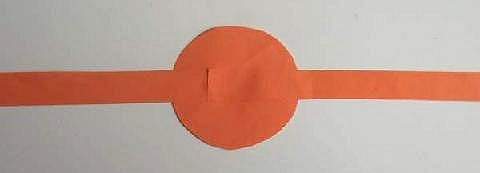
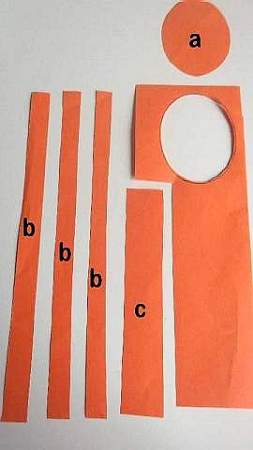
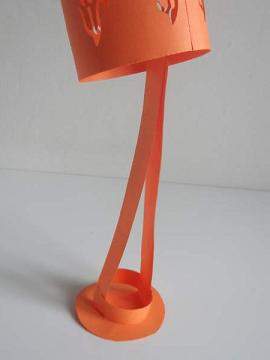
In the corner of the other A5 paper draw a circle (a) just the right size to fit inside the bottom of the lamp. Don`t worry if it does not fit perfectly, only make sure it goes inside. This will stop the weight of the light pulling the lamp straight. We want it to keep its nice fat shape in the middle. Cut 3 x 1 cm strips (b) off the long side of the paper. Paste glue to one end of 2 of the strips. Stick these to the center of the circle overlapping them. Leave it to dry. |
|
Cut another 2 cm strip (c) and fold it lengthwise making it 1 cm wide and glue the halves together. This will make the handle |
|
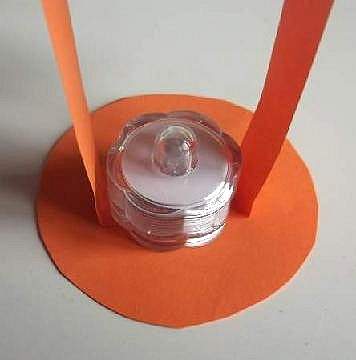
The disc with the strips attached to them should be dry providing you have only used a thin layer of glue and not plastered it on. Place your LED light in the middle of the disc and fold the straps upward creasing them into position. Leave plenty of room to put the light in easily when you are ready to use the paper lantern and to remove it when the party or function is over. |
|
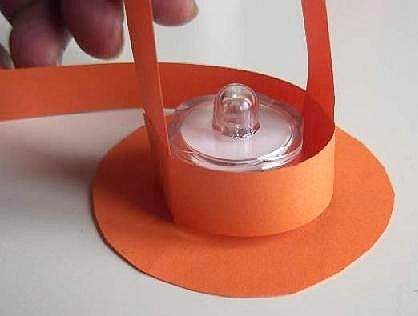
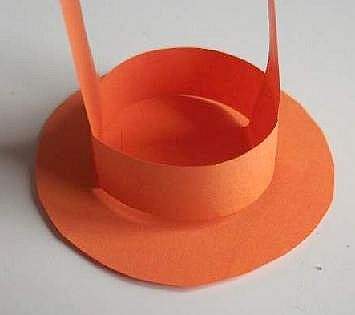
Cut of the excess paper and put a spot of glue to join the ring together. Take the light out and leave it to dry. I always find that my work lamp generates enough heat to dry the paper quickly. |
Using a finger, paste some glue to the outside of each strip at the base and stick the 3rd 1cm strip around the light forming a ring around it. |
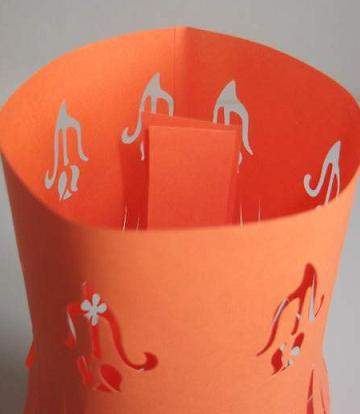
Now for the tricky bit! Put the holder inside the paper lantern so that the strips come through the top. Cut off the strips a little below the rim and glue them flush with the edge so that the disc sits just inside the bottom of the lamp.
|
Once everything is in place you can attach the handle. Paste a thin layer of glue to each end and stick to the inside edge of the lamp over the ends of the strips. The paper lantern is finished. Leave it to dry and then place the light inside and let it shine. |
