Make a Scrapbook
For
Special Summer Memories
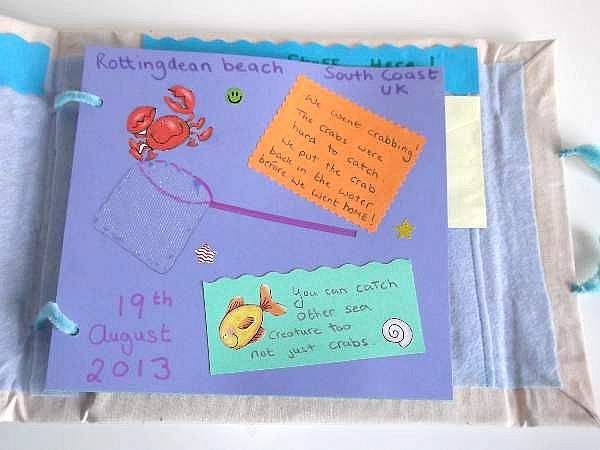
How to make a scrapbook is one of my late summer craft ideas for kids. It`s a fun craft that is an ongoing project and ends up a nice keep-sake to treasure for your older years. This design with suit both girls and boys.
|
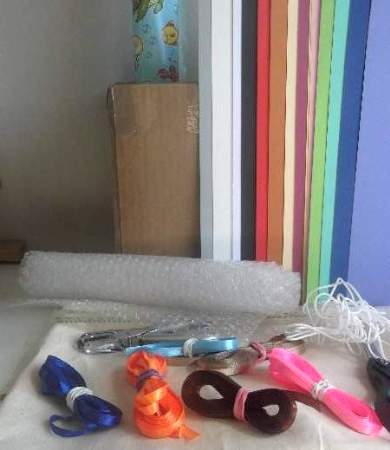
To make this KKC special, you will need: To begin, first choose what size you want it to be. |
Half of an A4 card (A5) is a good and convenient size to use for your pages but you can make a bigger one if you like. Whatever size you choose, go ahead and cut your card into identical sized pages. Ten is enough to start you off. You can add more pages later when you need them.
The cover needs to be larger than the pages so adding about 1/2 an inch
at the top, bottom and opening edge will be enough.
Ready
to start? Cut your cardboard box to open it up and place 2 of the pages
as a pattern for the book cover. Draw 1/2 inch all around the edge of
the pages except for 1 long side, or 1 short side if you want to make a scrapbook with a
landscape design. Now cut them out.
Next, cut 2 x 1 inch strips of
cardboard, one for the back binding and the other for a fold over flap.
Make it the same height as the front and back cover.
|
I wanted to make a scrapbook that looks padded, so I added some bubble wrap. This is optional. If you don`t want your own padded then leave this part out. |
|
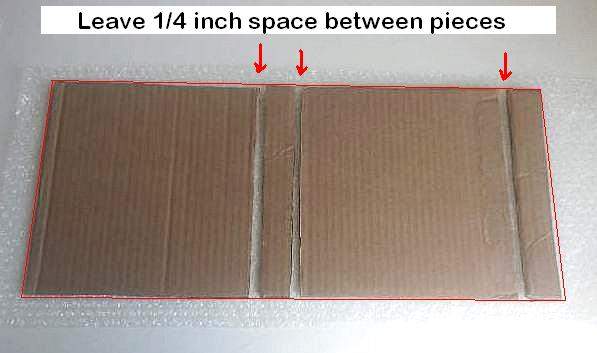
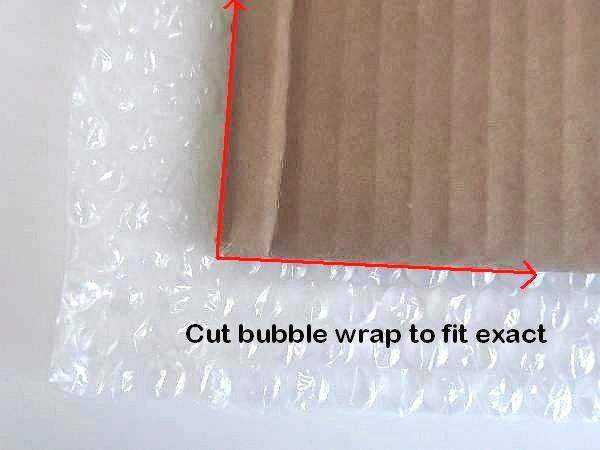
Roll out some bubble wrap on the table and place the cardboard pieces side by side. First the front cover, then the binding, back cover, and flap. Allow about 1/4 inch gap between all the pieces. Draw a line around the edge like you see in the picture and cut the bubble wrap out. |
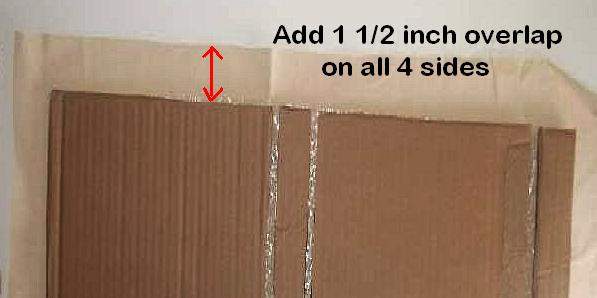
Alright! You are ready to make the fabric cover. Spread out your material and lay the bubble wrap padding onto it. Adding 1 1/2 inch allowance on all sides, draw an outline and cut the fabric piece out.
(If you intend to make a scrapbook without padding then lay the cardboard pieces directly onto the fabric separated with a gap, add 1 1/2 inches allowance on all sides and cut the material cover out.)
Now it is time to place all the layers together. You need to place the bubble wrap onto the fabric first, bubble side up. Now place all the cardboard pieces on, in the same order as above, remembering to leave a gap between them.
|
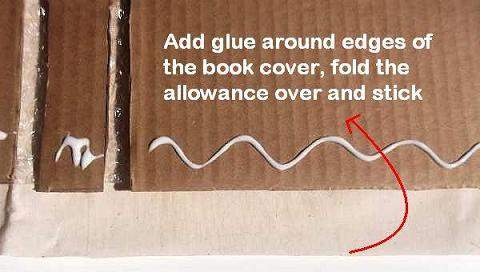
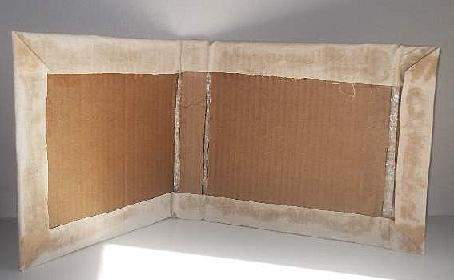
Glue the fabric allowance and fold it over the cardboard edges just like you would cover a book with paper. First fold over the top and bottom and fold in the corners. (See the picture) Now fold the sides in. Place it to the side and leave to dry or hurry up the process with a hair dryer. |
|
The Lining |
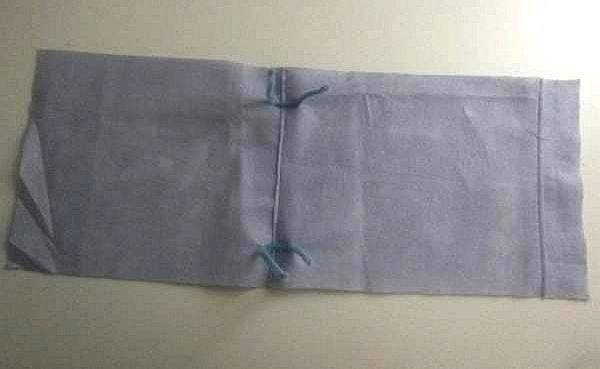
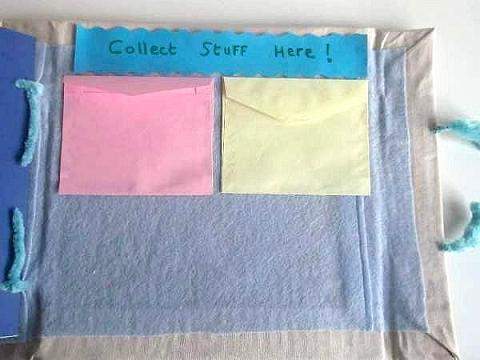
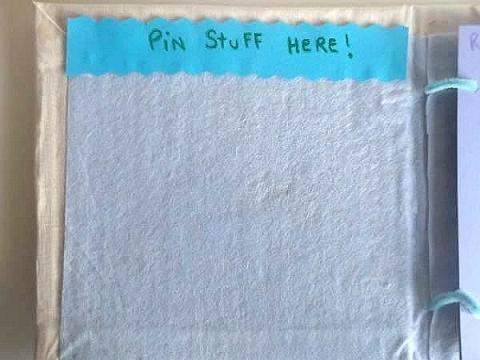
Sometimes craft felt is sold in small squares. If you can`t find felt that is large enough to cut a whole piece, then cut out 2 or 3 pieces like I did and stitch them together along the binding point, and the other can be along the flap point if you needed to cut 3.
|
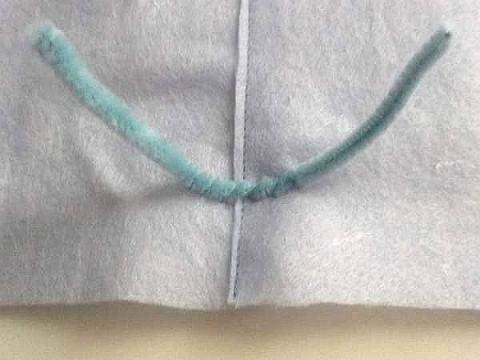
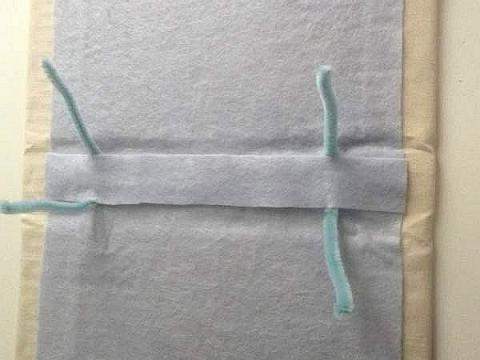
Make a Scrapbook With Pipe Cleaner Binders Cut 2 x 12 inches of contrasting ribbon or cut a pipe cleaner in half and stitch them across the the width of the binding point about 1 inch from the top and 1 inch from the bottom. This next stage is bit tricky so be patient and careful. |
|
After
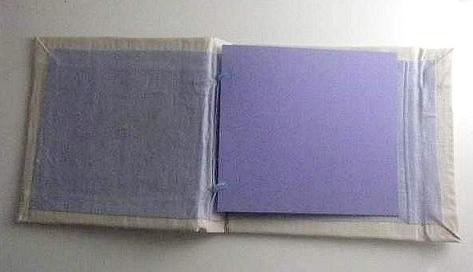
making the binders, paste a thin layer of glue to the entire inside of
the book, 1/2 inch in from all the edges and carefully place the lining
over it. |
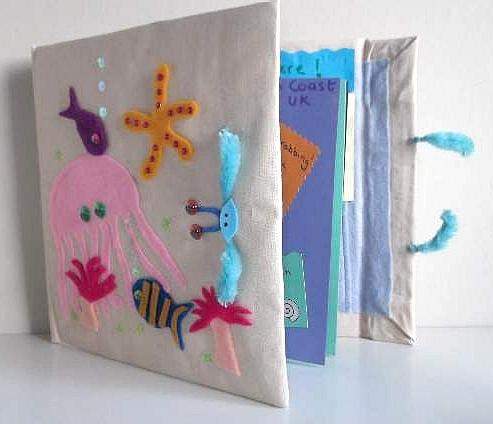
As the pages of the book get added, the flap will move to the side but still be able to close. It will then look more like a box.
Note: Drying time is short with PVA especially if you leave in a warm place or borrow your mum`s hair dryer.
|
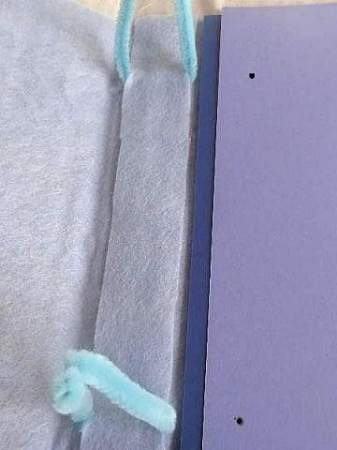
To make the punch holes for the pages, align them next to the binders and marking the spot with a dot. Now hold 2 or 3 cards flush together and punch with all your strength. Do this to all the pages.and then put them in now or later when the book is finished. |
|
Push the ends of the binders on the left side through the holes in the pages then bend them into a ring shape. Wrap them once around the base of the other binders on the right side and press them down along the gap. Don`t wrap them tight without a ring or the pages won`t turn. The more pages you add the more you can slack the binders to hold them all. |
Make a Scrapbook That Fastens
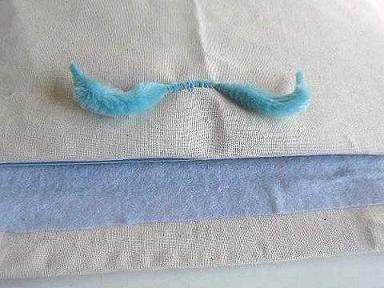
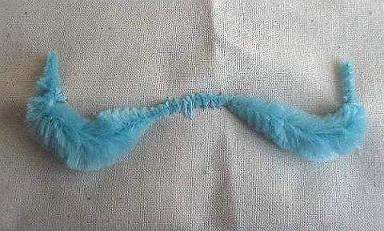
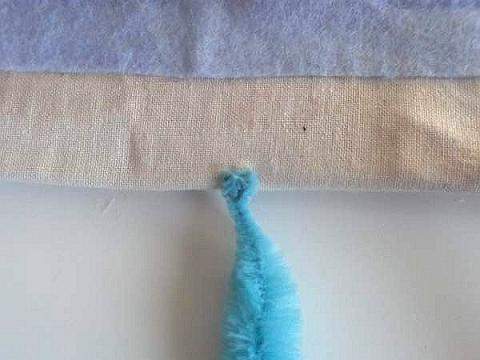
Now to use the other pipe cleaner for the fastenings. Cut it in two and cut 1 of the halves in two again. You should have 1 large piece and 2 smaller pieces.
|
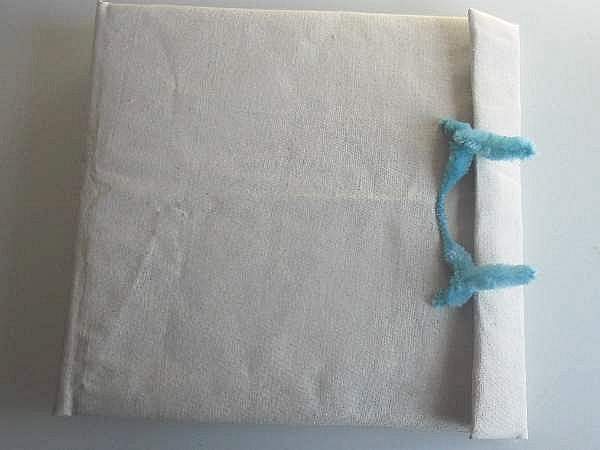
Fold the flap over the front cover to close the book and then center
place the large pipe cleaner along its edge. This is where you must
stitch it to the fabric but just in the middle. After you secure it,
bend both ends into shallow loops and stitch them to the fabric. Leave
enough at the tips to bend back and tuck under themselves after you
attach it. (See the pictures) |
|
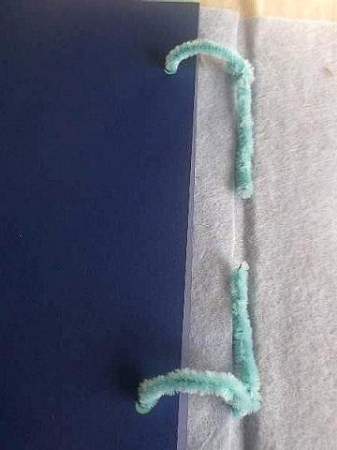
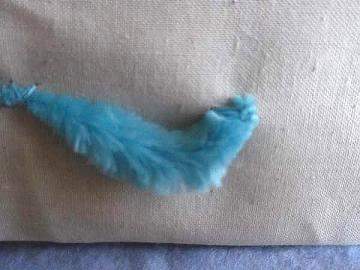
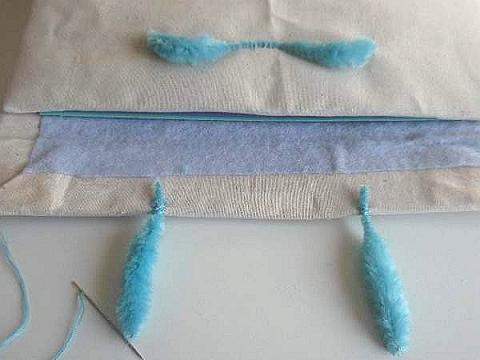
Take the other 2 pieces and align them with the loops. Stitch those to the inside edge of the flap with enough at the tips to bend around the base. (See the picture) Use small pliers to press all the sharp ends of the pipe cleaners inward to stop them pricking you and then push the fasteners through the loops and push to the side to close. |
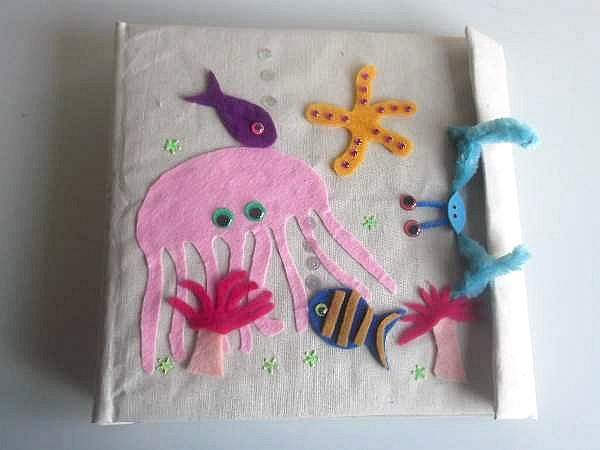
All that is left to do now is the cover
design which I will leave to you. So get creative! Hope you like our
"sea creatures" design below. They are made to match the KKC beach bag.
Alternatives:
You can also make a fabric cover from an old favorite t-shirt, or buy a
1/2 meter of fabric with interesting characters.
To see how to make the beach bag and other holiday crafts click on our Summer crafts
