Make a Kaleidoscope Part3
Get the Beads Out!
|
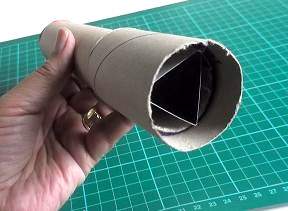
Now we know how to make a kaleidoscope part3 will show you how to fill the turning piece with beads. But how do we add the beads? We make a container! |
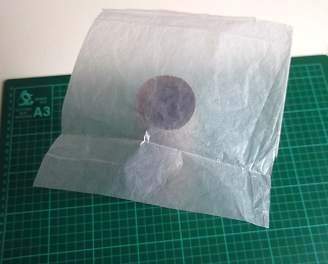
You should have a piece of wax or tracing paper. Wax paper seams to be a bit stronger, or even some shiny backed tissue paper. The latter is what I used.
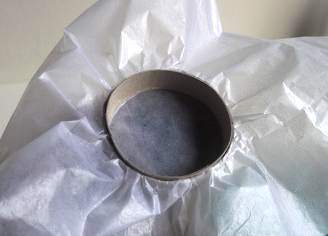
Place it centrally over the end of the small tube and push a pouch in it. Take the ring and push it into the end of the tube also so that it makes the tissue paper taut. Keep gently pushing until the ring is fully inside.
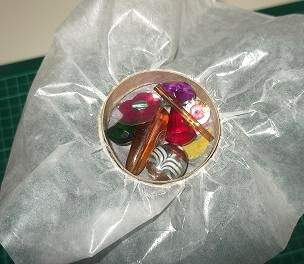
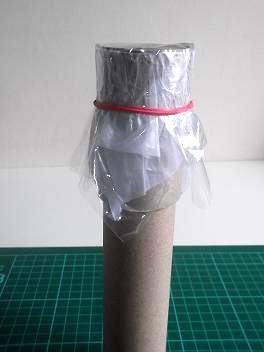
Next select what beads you want. The transparent ones work best but you can add sequins and other small objects. Now place the polythene over the end and wrap a rubber band around the top. Push it down over the tube enough to wrap sticky tape around the end.
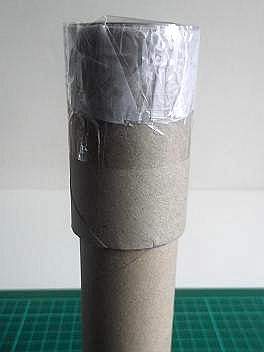
Now you can remove the rubber band but carefully. Cut off the excess paper and polythene around the edge of the sticky tape and wrap tape over those edges to bind them in.
If you want to make a kaleidoscope that is more durable, take a small business card sized, laminating pouch and run it through the laminator so that you have a clear piece to make a round lens. Make it the same size as the bead window and tape this onto the end. Now you can decorate it!
|
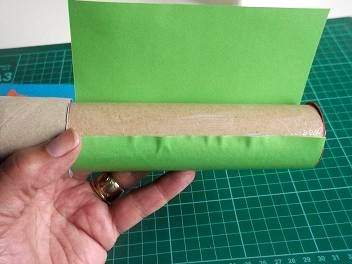
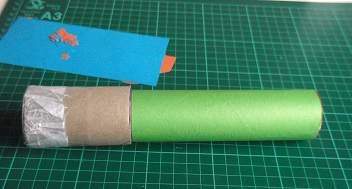
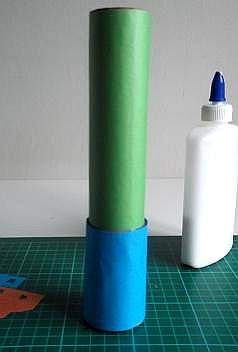
Prepare the decoration by measuring and cutting sheets of paper to fit the 2 parts then cut thin strips and punch designs along them. I have cut some wavy lines and used serrated scissors on one edge of the strips but kept the other straight to make my kaleidoscope look neat. These crafts are included in our cardboard crafts section |
