Make a Kaleidoscope Part2
From Cardboard Tubes
Make a kaleidoscope part2 is a tutorial on how to construct the mirrors to go inside the cylinder piece and to make the eye piece. This is a 3 part series of tutorials.
|
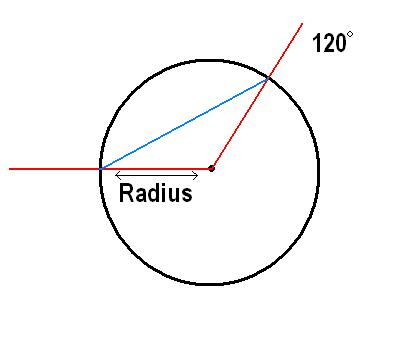
It may seem daunting to get the mirrors to fit inside the tube but it`s not so hard. I have made a drawing rather than a photo to make it clearer. |
Place the protractor again in the same place but make a mark at 120
which is 1/3 of 360. Once you have found and marked that spot draw a
line from it straight to the center of the circle.
To get the
width of each mirror panel, draw a line between the the 2 points on the
circles circumference where the lines cross it. It is marked in blue in
my illustration. Now measure this line.
|
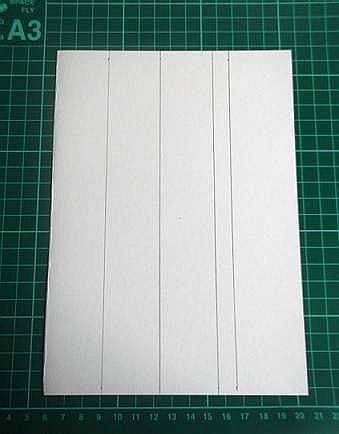
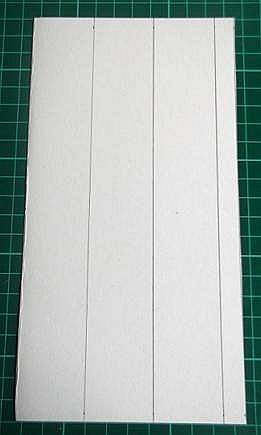
Building Mirror Panels to Make a Kaleidoscope |
Add another 1cm strip for the fold over edge. Measure the length and cut the whole oblong out not the individual panels.
|
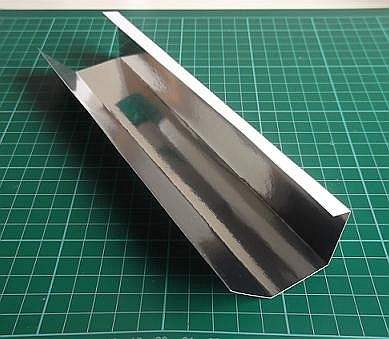
To make the panels fold easily, under supervision, lightly score all the 4 lines with the craft knife. Now pick the card up and fold the panels in so that the mirrors are on the inside and fold the edge over to close and make a triangular tube. Some find it necessary to stick the edge down but I do not as it stays in place inside the cylinder. Try it by sliding it into the cylinder to see if it fits snugly. |
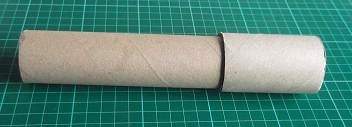
Slide the brush-less end of the short tube onto the brush-less end of the cylinder and push it along until it can`t go any further. The two brushes are touching one another now and you should be able to turn the tubes opposite to one another.
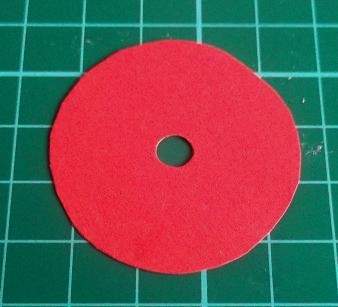
Remember the circle you made to find the panel measurement? Well we need it! So cut it out but outside the circumference line because you want it to have a slight edge so it covers the end.
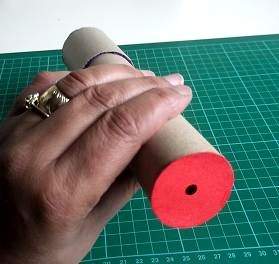
Punch a hole exactly on the center mark and paste it to the viewing end of the kaleidoscope with the drawing to the inside. Leave it to dry!
While it is drying you can have a peek at the third part.
Previous | Next - Part 3
