Leaf Art
for Collages and other crafty things
|
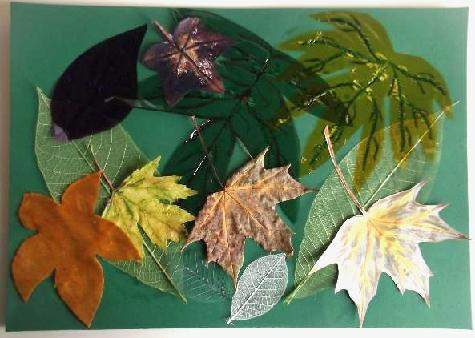
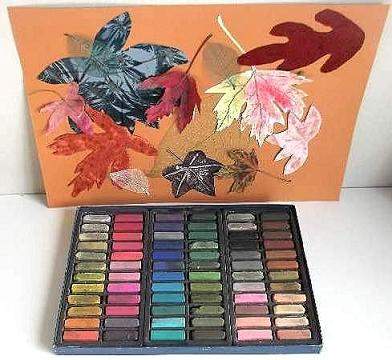
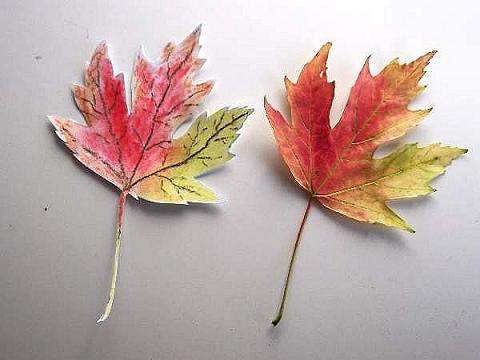
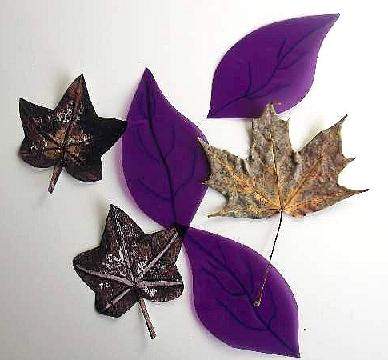
Our leaf art was done for an Autumn crafts collage. (See picture to the right) This page teaches one method on how to capture a leaf`s colour and texture by drawing it or making shapes from different materials. |
Collect a variety in type and colour of Autumn leaves then press some of them between the pages of a heavy book, but not all.
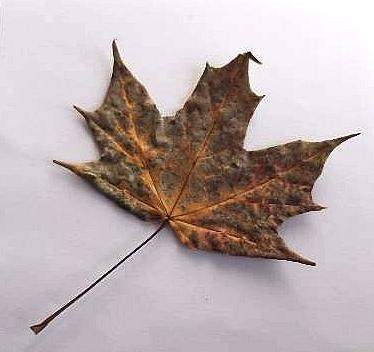
It is very interesting when you draw fallen leaves. For the first time you can sketch the flat pressed ones and concentrate on capturing the many colours that your eye sees. You can also try to draw dried unpressed leaf art here.
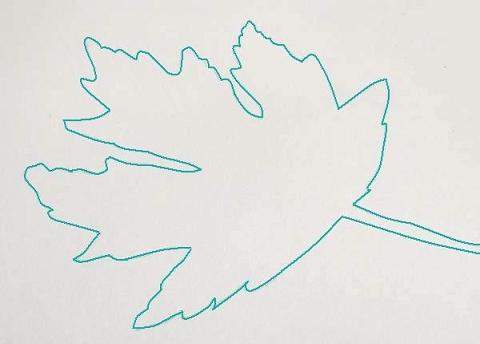
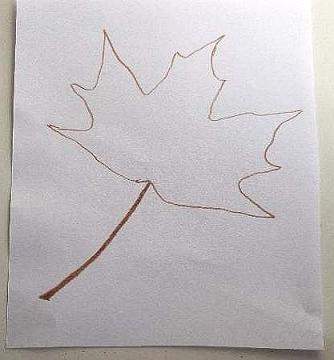
Use the leaf as a template but go careful if it has dried out completely or it will easily crumble. Once you have the outline look at it carefully and match up the colours you can see.
Pastel Sketches
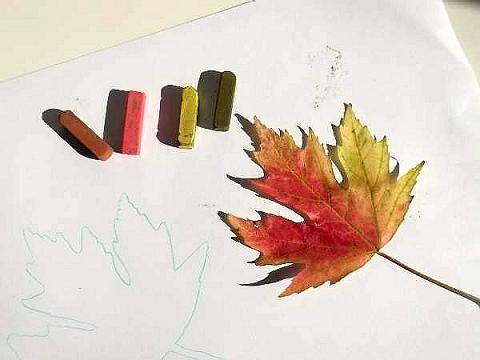
Pastels are a lovely material to use. They have so many shades of colour to choose from and you can blend them together with your finger.
|
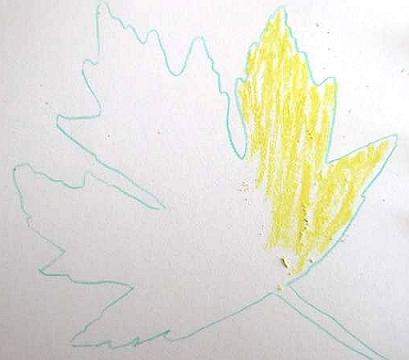
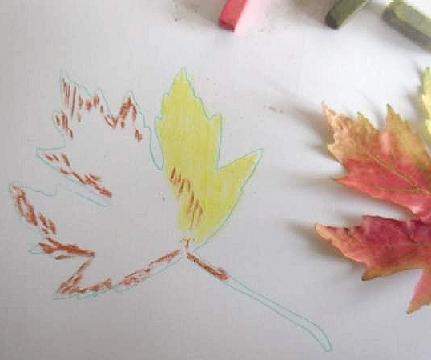
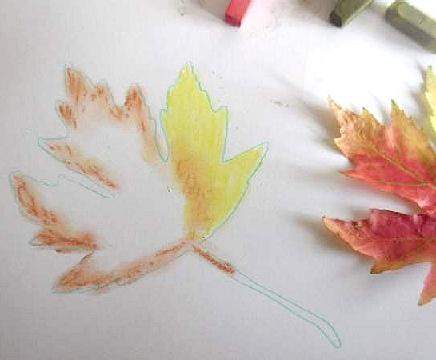
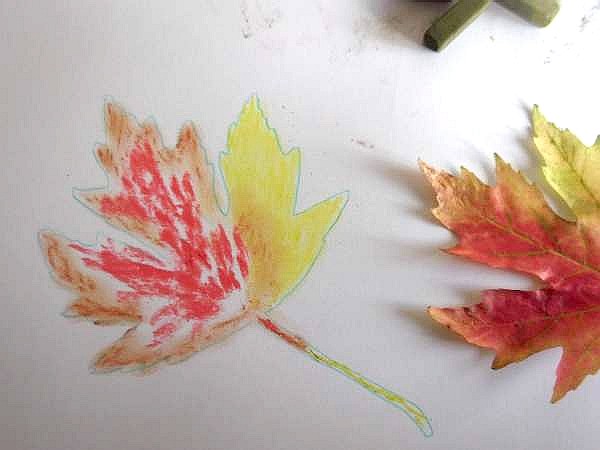
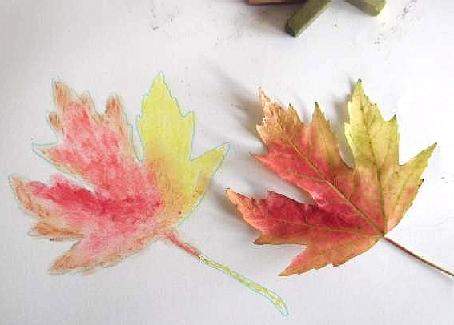
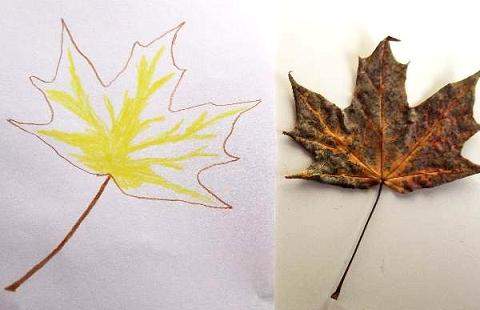
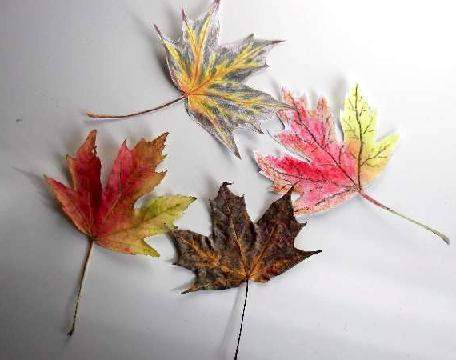
Start to fill in sections with the shades you see beginning with the lighter ones first. I have made lots of strokes and then blended them together with my finger adding one colour after another. Be careful not to smudge over the outline, but don`t be afraid to go over it if you are cutting out the shape for a collage. For a deeper shade in the places where it needs to be, use more pressure or use a darker shade. |
|
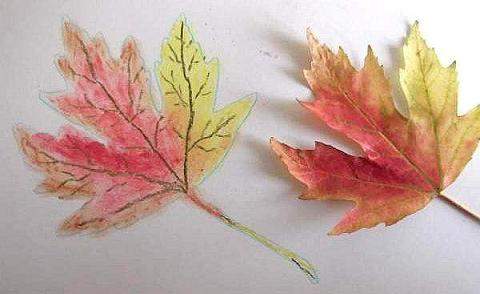
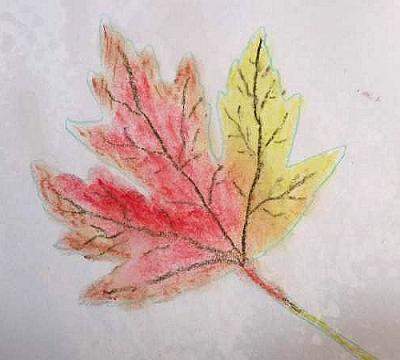
Once you are happy with the results you can draw in finer details like the veins, highlights, and shadows. This will lift the leaf art from the page making it stand out drawing the eye into your picture. I will post some example pictures later. |
Pastel drawings need to be fixed, that is sprayed with a fixative so the colour doesn`t transfer elsewhere.
For our crafts we don`t need to get too serious about this. A cheep hairspray, or your mother`s best if she can spare it, are suffice, then you can cut the leaf out for your collage or other art project. But if you are creating a more professional work then use a recommended fixative from your local art shop.
Pencil Sketches
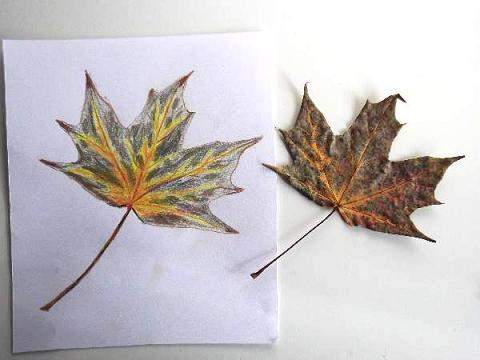
You can also produce leaf art using coloured or black pencil. Again start with an outline. This does not need to be as bold as mine which I made so you can see it better. A light outline is better. Fill it in with the lighter shades first and then add the darker.
|
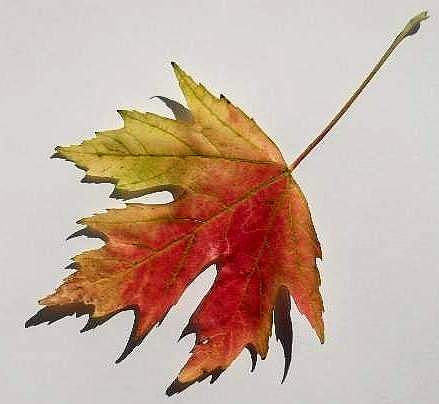
There is yellow, red, gold, grey, and even subtle blue and green in the leaf as I look at it for real. You may not see these colours in the photo, but if you were seeing the real subject in front of you, your eye would possibly pick it up. |
Did you notice how the tips of the leaf are darker? Where you see light or dark this is highlights or shadows. Our leaf is flat in this drawing as we are concentrating on using colour. Another lesson will teach you how to use highlights and shadows to bring depth to your drawing.
Fabrics For Texture
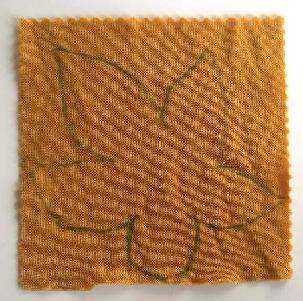
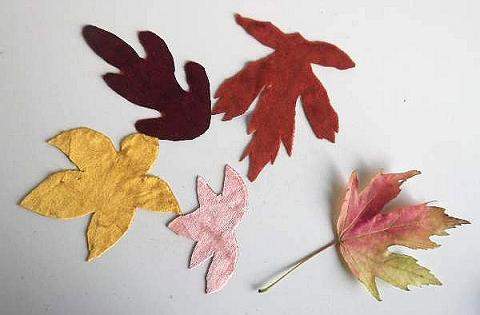
Try using different materials whether paper or fabric. I have used plain velvets but you can use patterned, coarse, or sheer fabrics for contrast and texture.
Make up some leaf shapes by drawing on the back of the fabric an cut them out. If you can find material with different patterns and shades of the same colour try making a collage using only 2 colours.
Cellophane For Shadow and Highlights
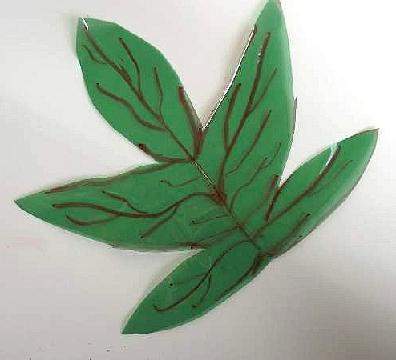
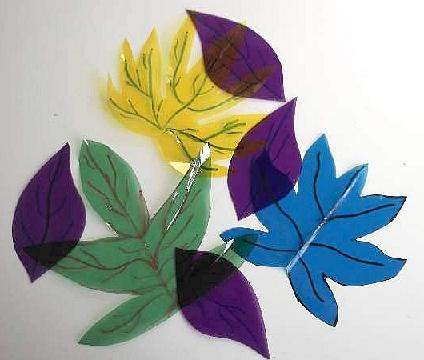
Cellophane is a strange material to use. It can be problematic but you can use those problems to produce good effects. I have used it as background leaf shapes for shadow and highlights.
|
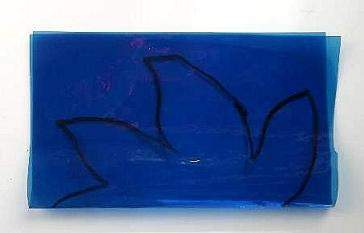
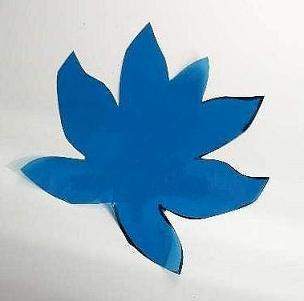
Fold a square of cellophane in half and draw a half leaf design. Cut out and open the shape. You can experiment with different leaf shapes. Because PVA glue is water based it shrivels up the cellophane. That works just great as an effect. Cross the shapes over one another and you create new interesting colours. |
I hope you enjoyed the leaf art lesson. Try different projects with other natural materials like seaweed.
See how to use this leaf art in a collage
