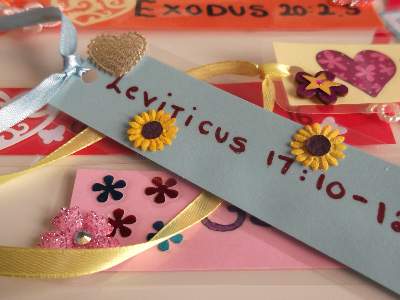
Book Markers for Bible Crafts
These book markers are easy to make and an aid to help you learn where all the books of the bible are located. They are also great for memorizing favorite verses and reading the whole bible in a year.
How To Get Started
In the right column of this page you can find a list of materials for this project.
You will need different colored paper cut into strips that are shorter in length than the length of the bible you use. It`s helpful to have a variety of colors to help memorize the different books. There are 66 that make up the bible so you will need that many strips of paper.
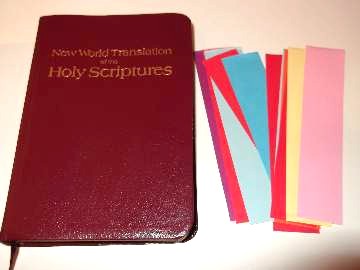
This is a big craft project and can be done in stages. I have started with Genesis through to Ruth. Eight markers as that`s how many can fit on one A4 laminating sheet.
Gather all your tools and decorating bits but if you are using embellishments, choose flat ones that will not cause bubbles when you are laminating. Raised embellishments can be added later using a glue gun, glue spots, or uhu glue.
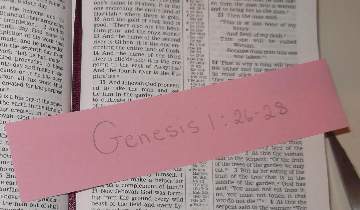
For the first book marker, choose a favorite verse from Genesis. If you don`t know any, read through some chapters until you find one you would like to memorize.
|
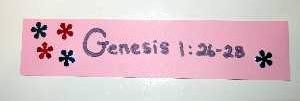
Lightly pencil the verse onto one of the paper strips leaving some room for decoration and the hole you will punch for the ribbon. Now take a felt tip pen with a contrasting color and go over the pencil. |
 |
Alternatively, if you are savvy with the computer, make a table in WORD with wide enough rows, choose a font you like in bold dark colors, then type and print out your verses and cut to measure.
How to Decorate
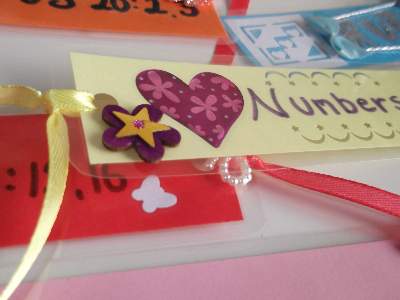
Notice I have decorated mine with die cut hearts, flowers, and stickers. I want to use some other embellishments but they will spoil the laminating if I add them at this stage.
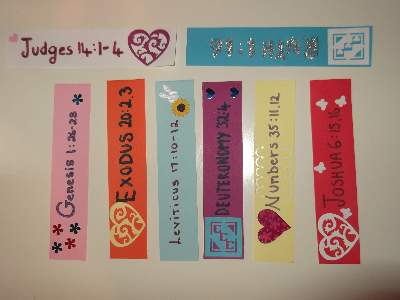
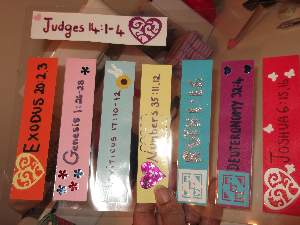 |
When you have made
enough book markers, open the laminating pouch and place them beside one
another leaving enough space for the edges to be sealed. After
laminating, cut between the spaces leaving an edge around each marker.
Round of the sharp corners and punch a hole in the middle of one end. |
|
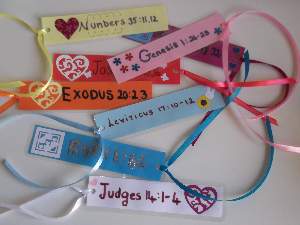
Now choose ribbons that will match and add your final touches. |
 |
Draw your own bible
characters, cut them out and stick them onto the paper strips before
laminating them. You can also cut out small pictures from old and worn
bible aid books and magazines.
Boys,
we know you don`t particularly like pretty flowery things, so I will
add some abstract designs later that you can make into strips for your markers. You
will need a printer for this of course. If you don`t have one, make use
of some spare wrapping paper, or use some scrapbook paper. There are some awesome designs!
When you have made a lot of bible book markers you can start using them to learn the books of the bible. Have fun!
There are more crafts with a bible theme here...
